Create Viber account
This document provides all required steps to create and link a new viber bot account to the viber bot web api project.
Creating account
- Head to https://partners.viber.com/confirm?returnUrl=%2Faccount%2Fcreate-bot-account
- Fill in the phone number that will administrate this account. You need access to this number to input back a verification code:
 Figure 1: Log in Viber admin panel
- After logging in, click the Create Bot Account and fill in the required information. For category input Local Businesses and for subcategory Information & Statistics:
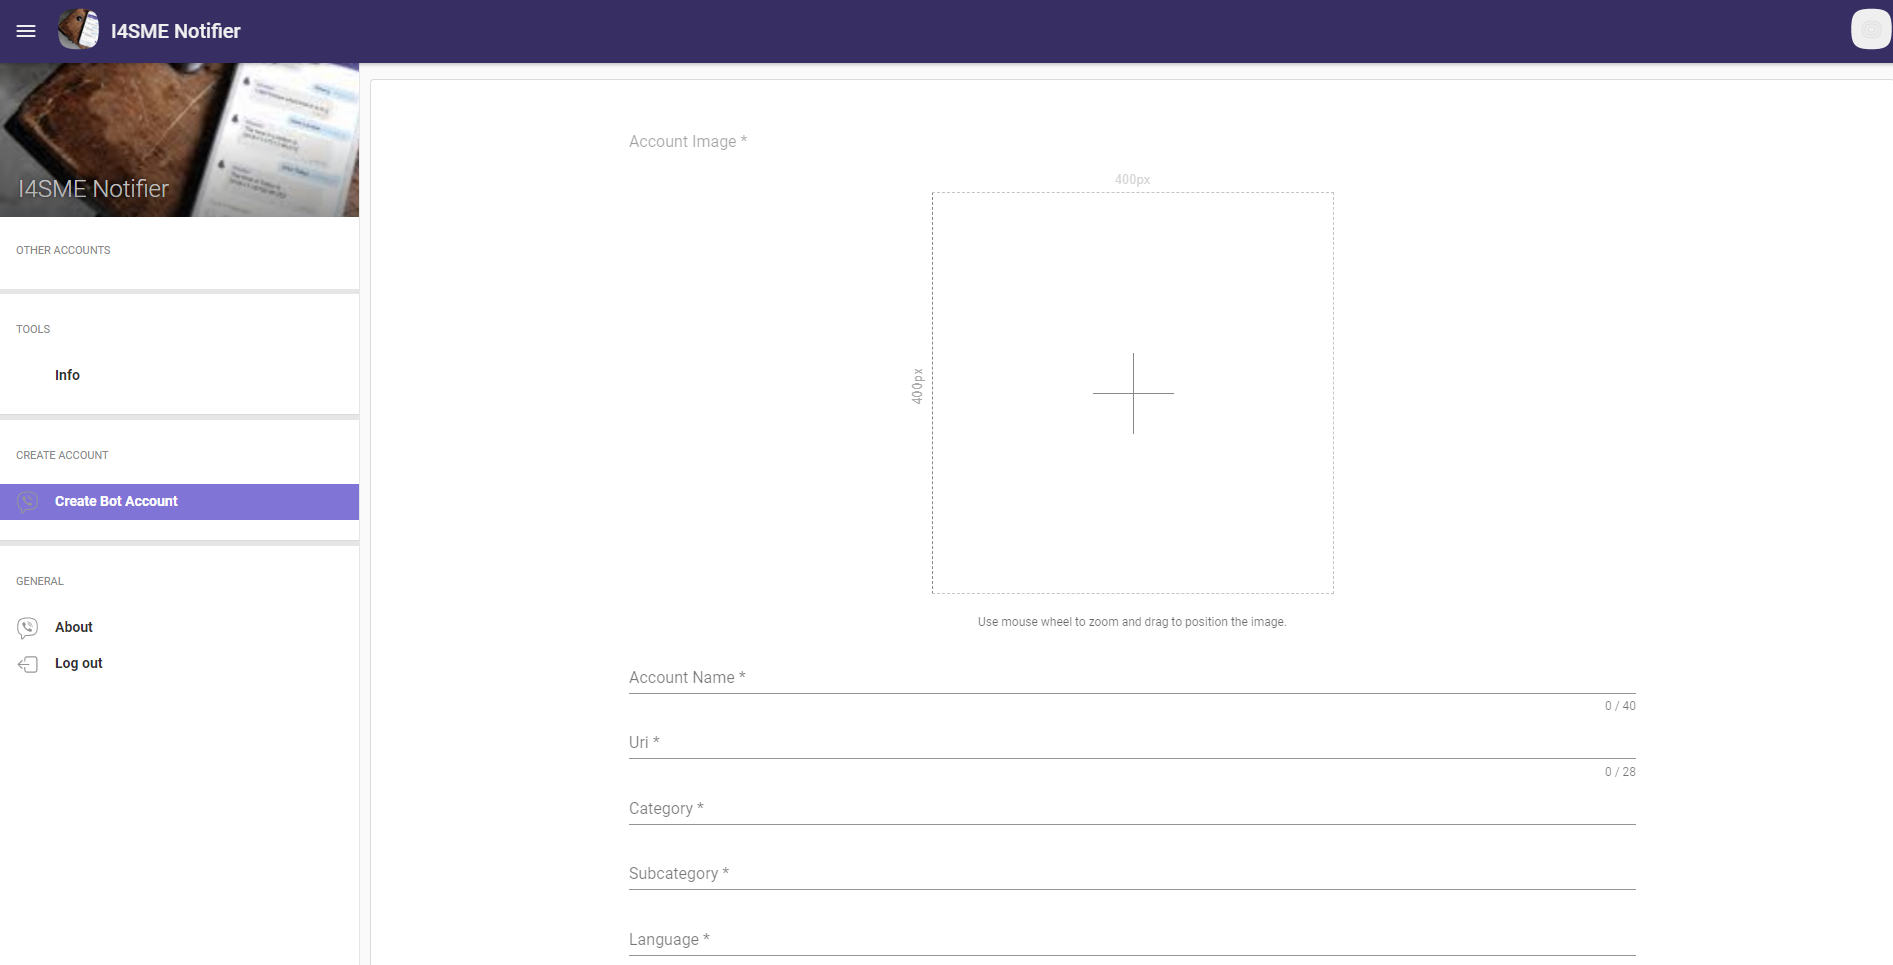 Figure 2: Create Viber bot account
- After creating the bot you will be presented with the auth key, copy it and paste it into the application settings:
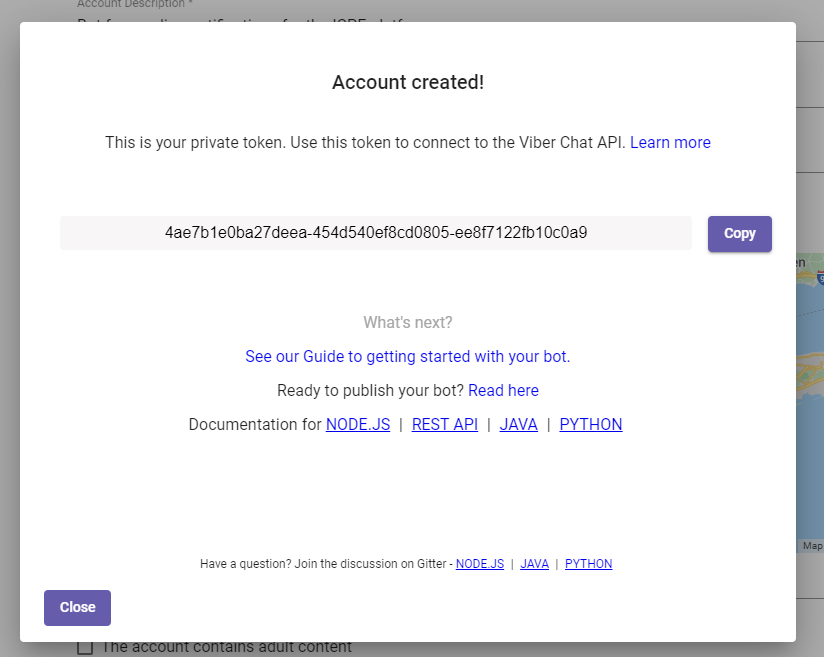 Figure 3: Viber bot account created - copy auth key
Set Viber Authentication token
Set this key to the Viber:AuthenticationToken setting in the ViberBot web app project.
Set Deep Link URL
- Build a deep link url using the name of the bot you just created:
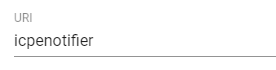
In this case the deep link url till be:
viber://pa/info?uri=icpenotifier
- Set the correct viber deep link url to the Viber.DeepLink setting in the PublicAPI project.
Create QR Code
Last but not least we must generate a QR code leading to the Viber deep link url so the users can be redirected to the bot when clicking on the QR Code on mobile phone.
Navigate to a QR Code generator tool, e.g. https://www.qr-code-generator.com/
- Paste the Viber deep link in the text field, e.g viber://pa/info?uri=icpenotifier
- Generate and download your QR code image.
- Paste the QR Code in the NotificationServer.Function project in the Content folder and rename it accordingly.
- Change the ViberBotQRCode setting accordingly to the path of the new QR Code.
- Redeploy the notification server.