Create Users and Groups
The prime source of users is the Microsoft Entra ID (ME-ID) of the Azure Subscription where the system is installed. The system resources are created within a dedicated Resource Group in that Azure Subscription. In the ME-ID a dedicated user group (Root User Group) is created where all users with access to the system should be added. The name of this user group is with the name of the Resource Group.
Important note: All users (and groups) members of the Root User Group are automatically synced (periodically) with the system’s internal database.
Purpose: Users and groups in Upkip can be created by the user with the role System administrator.
Precondition: Log in to the Upkip Administration as a user with a role System administrator.
- The user sees organizations and menu Users and Groups.
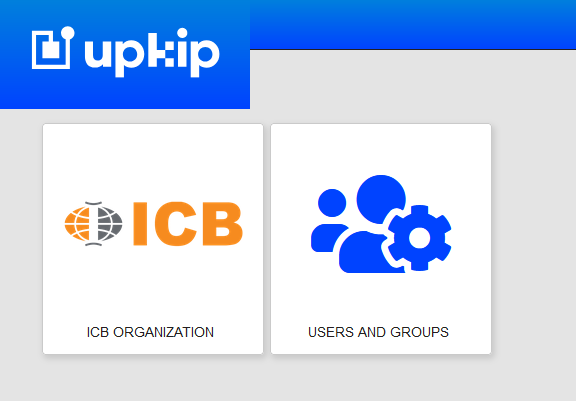
Figure 1: Upkip Administration - Home page
Click on the button USERS AND GROUPS.
- The Users and groups form opens.
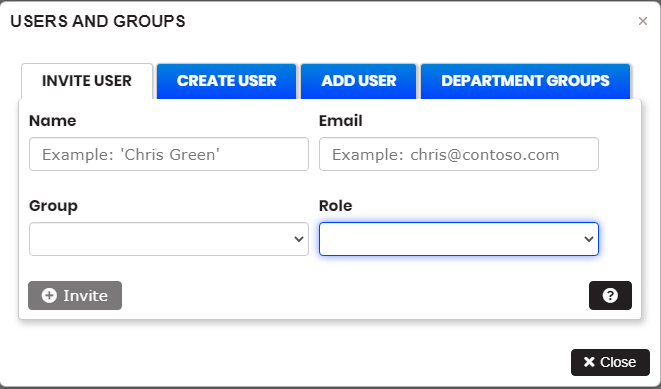
Figure 2: Upkip Administration - Create users and groups
Create or Delete Groups
Purpose: The groups created in Microsoft Entra ID are related to some departments or an entire factory. They are used to restrict user rights to only some departments or to the entire factory in the Upkip Visualization.
By selecting tab Department groups the user can create or delete groups.
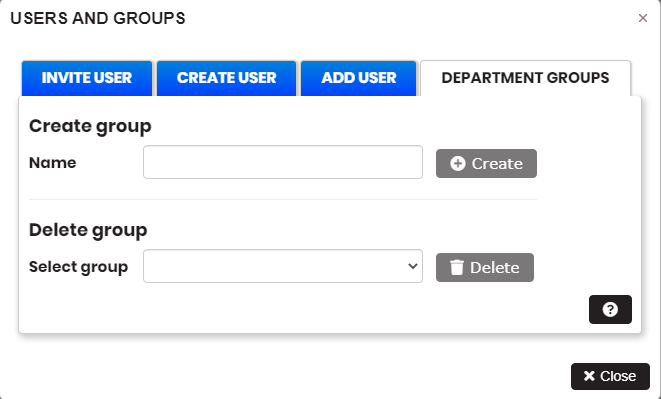 Figure 3: Upkip Administration - Create or Delete groups
Enter the group name in Create group and click Create.
- The new group is added in Azure Active Directory /Groups. The new group is visible in the delete groups dropdown menu.
From the Select group in the Delete group section, select the newly created group and click Delete.
- The group is deleted from Azure Active Directory/Groups
Create User in Upkip
Purpose: User can create new users in Upkip from Upkip Administration by automatically using Azure functionality Create user.
Precondition: The user with System administrator role is logged into the Upkip Administration. Click on the Users and Groups menu. Click on the tab Create User.
- The form for creating users and groups in Upkip is opens.
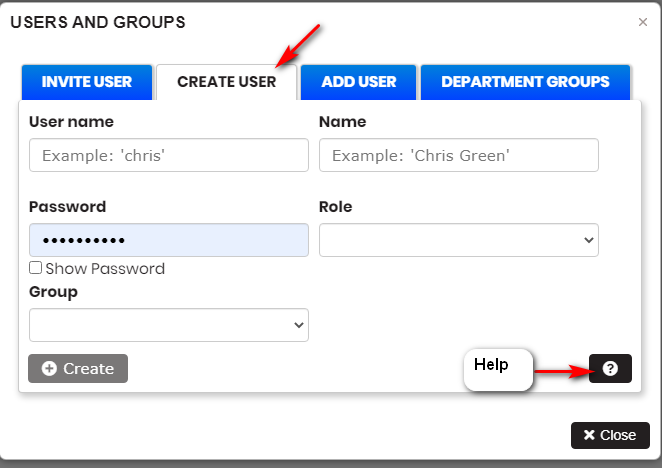
Figure 4: Upkip Administration - Create new user
Enter user data:
- User name - enter user name till "@". The domain name will be added automatically.
- Password - user password .
- Names - user first and last names.
- Role – select from roles list.
- Group(optional) – select from the groups list.
After filling in all fields, Create button is enabled. Click Create.
- The user is created successfully if all information is added.
- The user is created in the azure active directory.
- The user is added to the selected group.
- The user is synchronized with the Upkip's internal database and can log into the applications Upkip Administration and Upkip Visualization.
Invite User in Upkip
Purpose: User can create new users in Upkip from Upkip Administration by automatically using azure functionality Invite user.
Precondition: The user with System administrator role is logged into the Upkip Administration. Click on the Users and Groups menu. Click on the Invite User tab.
- The form for inviting users in Upkip opens.

Figure 5: Upkip Administration - invite users
Enter user data:
- Name - the user first and last names
- Email – user email
- Role – select from the roles list
- Group(optional) – select from the groups' list
After filling in all fields, the Invite button is enabled. Click Invite.
- The user will be emailed an invitation they can accept .
The user has to click Accept Invitation in the received email. If the user has not Microsoft account, he is guided to create a Microsoft account.
The user logs in with their Microsoft account and clicks Accept button.
- The new user is created in the Microsoft Entra ID and appears in the Microsoft Entra ID All users list.
- The user is added to the selected group.
- The user is synchronized with the Upkip's internal database and can log into the Upkip Administration and Upkip Visualization applications.
Add User in Upkip
Purpose: User can add existing users from Microsoft Entra ID to Upkip. Existing users that have not been added to Upkip are displayed in the User dropdown list.
Precondition: Usser with System administrator role is logged into the Upkip Administration. Click on the menu Users and Groups. Click on the tab Add User.
- The form for adding users in Upkip opens.
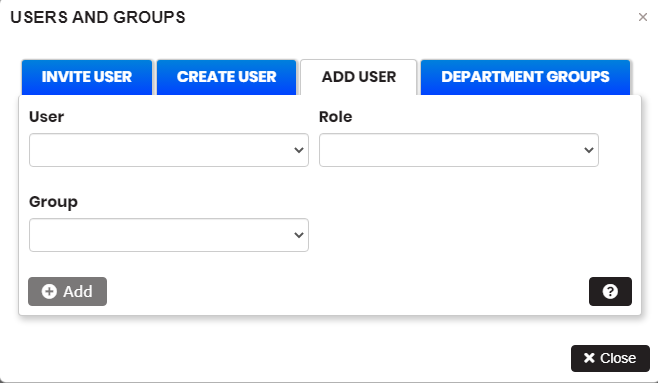
Figure 6: Upkip Administration - Add user to Upkip ** Users existing in Microsoft Entra ID and not added to Upkip are listed in the User dropdown list. Enter user data:
- User - select an existing user from the User dropdown list
- Role – select from the roles list
- Group(optional) – select from the groups' list
After filling in all fields, the Add button is enabled. Click Add.
- Selected user from Microsoft Entra ID is added to Upkip.
- The user is added to the selected group.
- The user is synchronized with the Upkip internal database and can log in to the applications Upkip Administration and Upkip Visualization.
Upkip Visualization Sign in
The created user in Upkip by Create, Invite, or Add automatically is synchronized with the Upkip's internal database.
The new user automatically is added to the corresponding team in the Upkip Visualization (The team is related to the assigned role in Microsoft Entra ID).
Sign in with Azure AD in the Upkip Visualization as a newly created user.
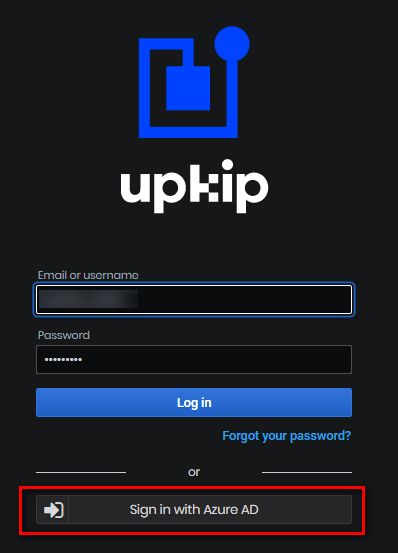
Figure 7: Upkip Visualization login form
Click on the button Sign in with Azure AD button, enter username and password.
- The new user is logged in to the Upkip Visualization.
- The user see dashboards depending on their role .
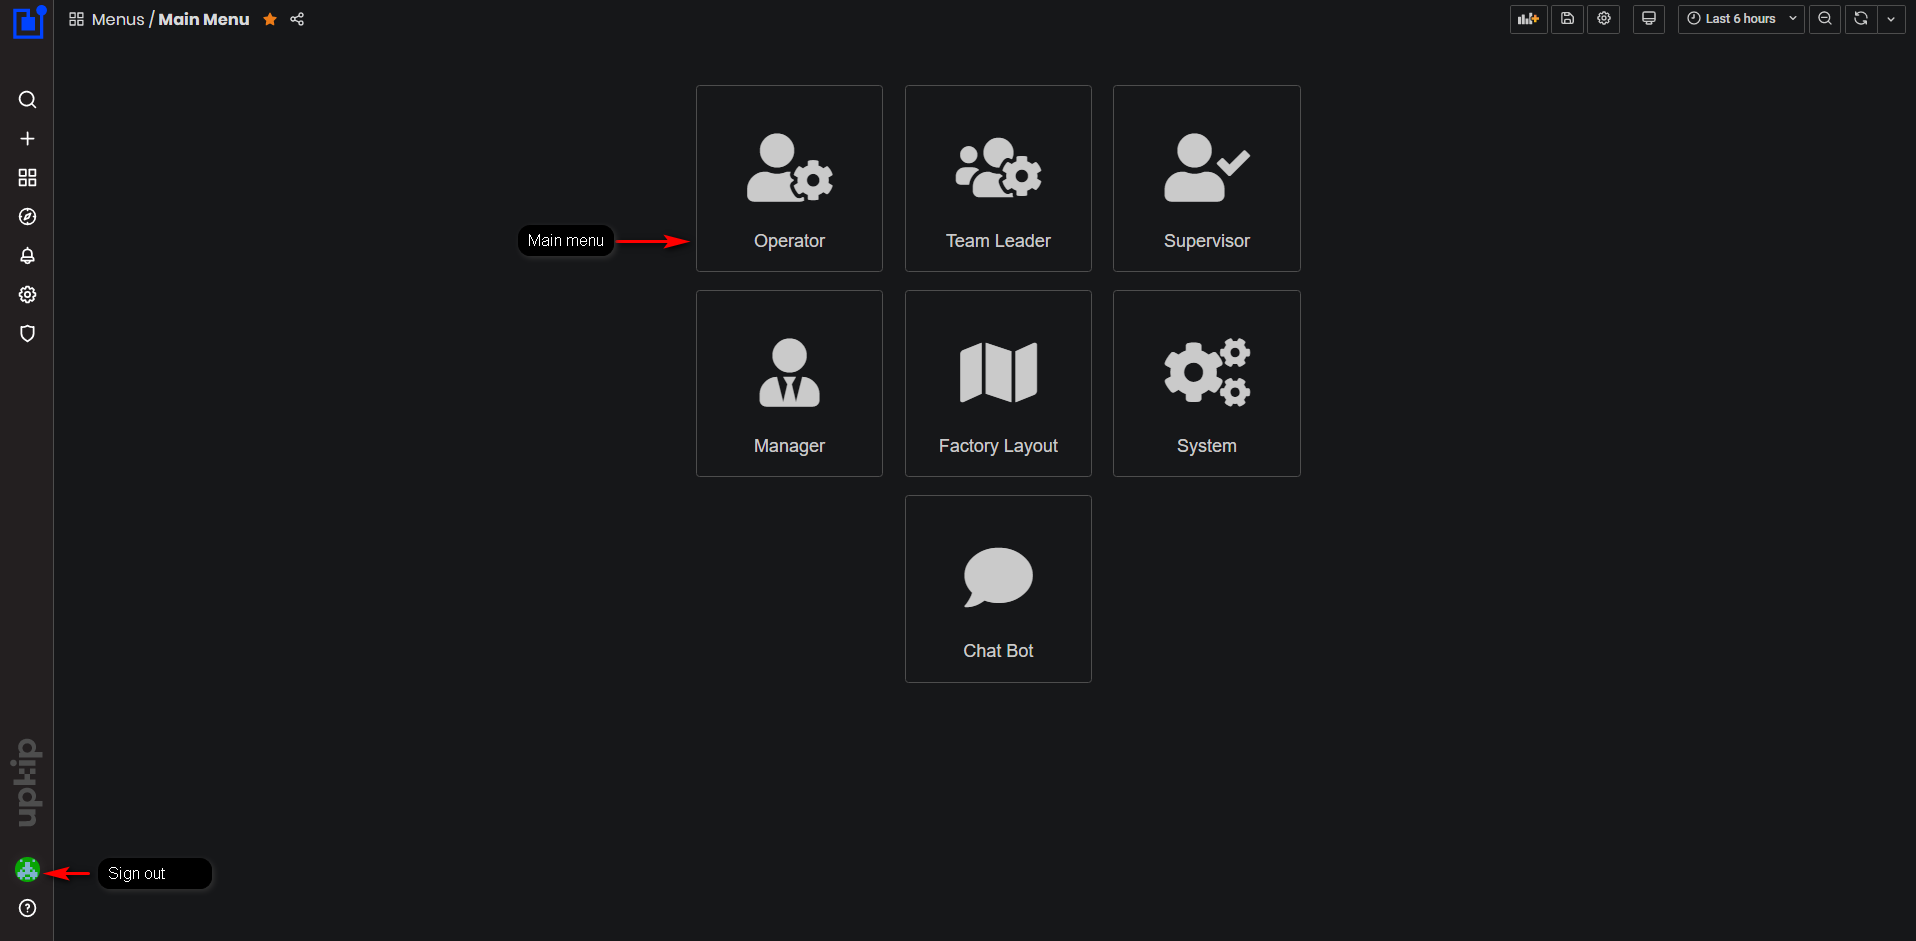
Figure 8: Upkip Visualization Home page
Upkip Administration Sign in
To log in the Upkip Administration user should have been assigned the System Administrator or Organization Administrator role.
Navigate to the Upkip Administration login page.

Figure 11: Upkip Administration Login page
Click on the button Sign in with Microsoft. Enter Microsoft account user name and password.
- The Upkip Administration Home page opens.
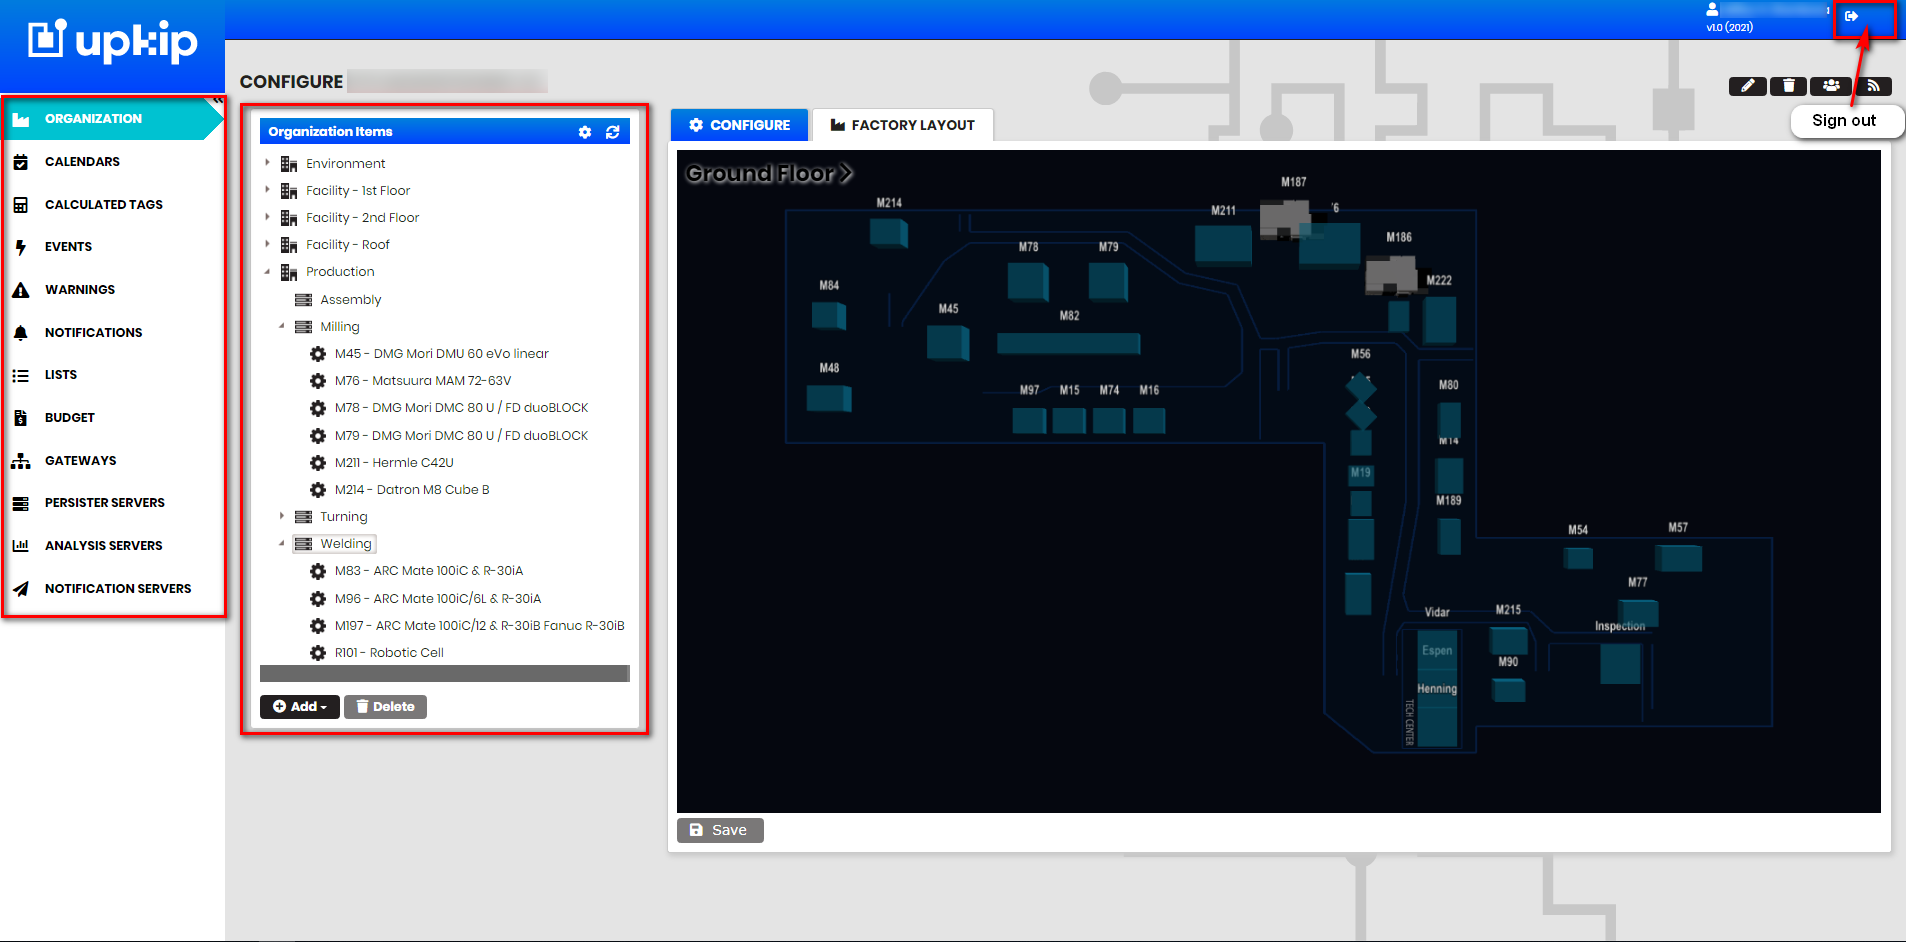
Figure 12: Upkip Administration Home page
The main elements of the page are:
- Vertical menus (collapsible)
- An Organization tree structure with factory, departments, and machines
- Factory floors layout with machines (Factory Layout is visualized in the Upkip Visualization)
To exit the Upkip Administration click on the top right button.
- User has logged out of Upkip Administration.
Edit and Delete Users
Edit User role in the Upkip
Purpose: From the Upkip Administration-Organizations users list is possible to edit the user role.
Precondition: The user with the role System Administrator is logged in Upkip Administration
Click on the users’ icon and open the Users list. Users are created in the Microsoft Entra ID of the tenant where the Upkip has been installed. Users are synchronized with the Upkip internal database.

Figure 13: Upkip Administration - Open Users' form
- Users list form is opened.
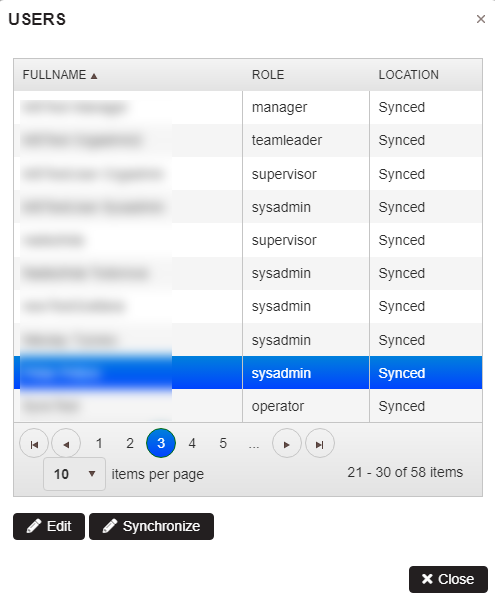
Figure 14: Upkip Administration - Users list
Find the user in the list and click Edit.
- Edit user form is opened.
In Edit user form is possible to:
- Add the user phone number.
- Change user role.
- Add allowed time interval for different notifications by Email, SMS, Viber, Microsoft Teams.
Change user role from the dropdown with roles and click OK.
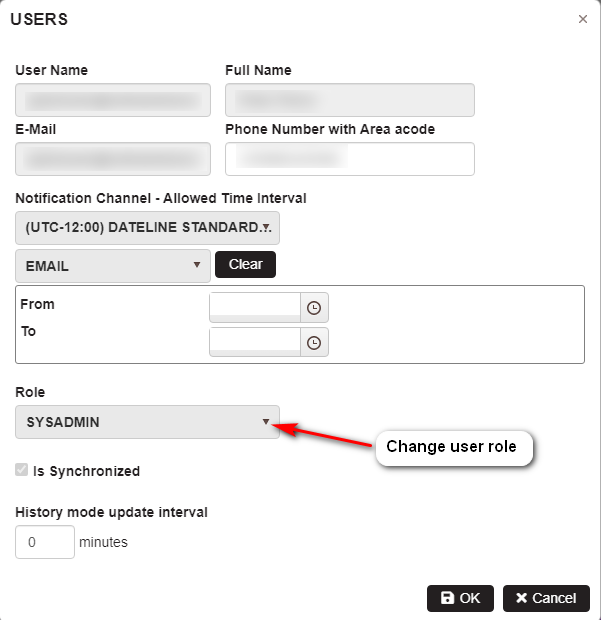
Figure 15: Upkip Administration - Edit user - change user role
- User role is changed in Microsoft Entra ID.
- Automatically executed synchronization of users.
- The user's new role is visible in the Upkip Administration users’ list.
- User role is changed also in the Upkip Visualization team (this is visible in User/Preferences/Teams).
Delete User from Upkip
Purpose: The user can be deleted from the Upkip platform by deleting in Microsoft Entra ID and then by synchronization removed from the Upkip internal database.
The user with a role System Administrator (Global administrator) is logged in Microsoft Entra ID of the Azure Subscription where the system is installed.
Navigate to the Azure Active Directory/All Users. Search for a user, check the user, and click Delete user. Confirm “Delete selected user?” with OK.
- The user is successfully deleted from Microsoft Entra ID
Log in as System Administrator in Upkip Administration. Open the users' list and click the button Synchronize.
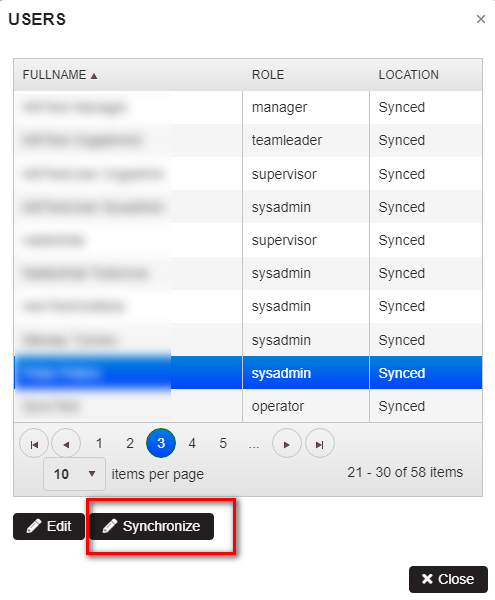
Figure 16: Upkip Users list - Synchronize users
- Deleted user in Microsoft Entra ID is also removed from the Upkip internal database.
- The user is removed from the Upkip Administration
- The user is removed from the Upkip Visualization.